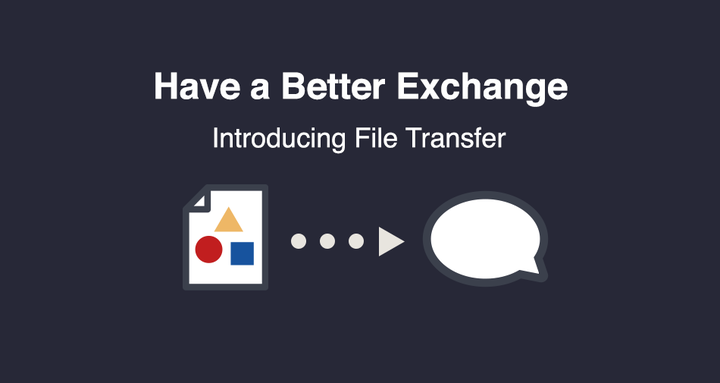
Since we were able to give the chat experience a fresh, new look with the Engagement Hub update, our team decided it was time to tackle a highly requested feature – file transfer! I know, I know…it’s about time. I completely agree. File transfer is something that we’ve wanted to do for awhile, but we also wanted to be certain that we got it right the first time. We had a lot of conversations around designs, functionality and overall usability to ensure that we delivered a top-notch feature that would make Pure Chat even more amazing to use. We may have also peeked at how other applications tackled this feature so we could do it better than them.😉 I might be a little bit biased, but I think we accomplished that goal.
Let’s get into the details!
What they see…
First off, your visitors will now see a paper clip icon in the chat area where they can click/press to open up their file picker to choose a file to attach (see image on the right). This will be the same experience for your main website chat box as well as for your mobile-optimized chat. Your visitors also have the option to drag and drop or copy and paste images/documents/files into a chat. So cool! If they accidentally send the wrong file, they can easily delete it and send the correct one. When they receive a file from you, your visitors will have the option to download it (as signified by the download icon in this image). For images, your users can simply click on the image and it will expand it to its full size on their screen, so it’s not necessary to download it to see the full size view. For GIFs, click on it, and when it expands, it will play. Woo! 🎉
What you see…
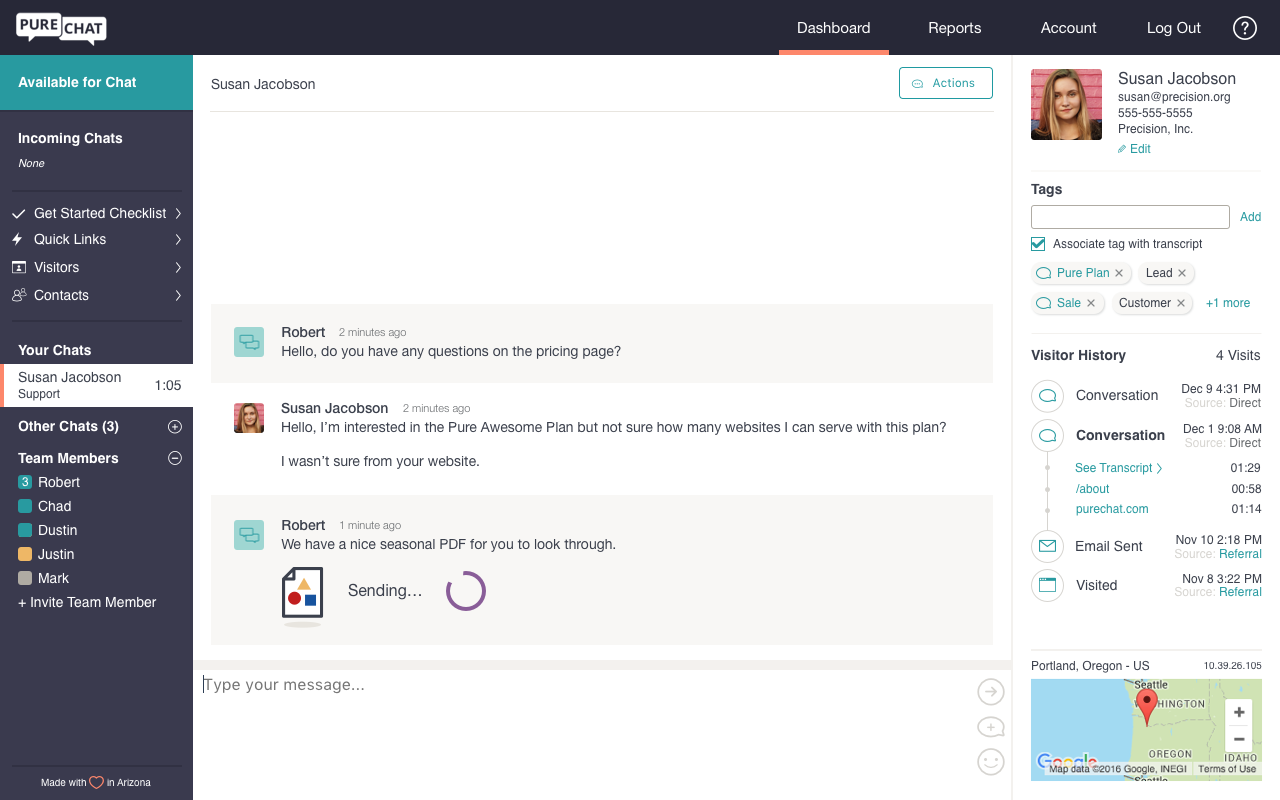
Now, onto file transfer from an operator perspective. You will have the same functionality outlined above. You can manually pick a file to transfer by clicking the Actions button at the top of the chat and choose ‘Upload File’. If you have your files already open, you can simply drag and drop the file(s) into the dashboard and that will begin the upload as well. For images, it’s even easier. You don’t need to download it to send it over. Simply copy and paste the image into the chat and your visitor will receive it. If you do open up the file selector, you can choose as many files as you want, no matter the file type (see supported file types below), to transfer and they will all send at the same time! As an operator, you can also click on an image the visitor sent to expand it open on your dashboard. This helps eliminate the need to download every single image just to view it clearly. When you hover over a file that you receive, you will notice the option to download it. If you sent the file, hovering over it will give you the option to delete it just in case you sent the wrong file. We’ve all been there.
We will be supporting most file formats right away like .doc, .docx, .txt, .pptx, xlsx, .pdf , .png, .tiff, .jpeg, .gif and a handful of others. If a file is too large (greater than 2MB) or a format we do not support (like .exe files), a failure message will appear so you know it didn’t go through. Since this may happen from time to time, we added an option to customize the failure message, so it aligns with your organization’s voice and tone.
All of the files that are transmitted through live chat will be available to you anytime from your Transcripts section. If you download or export a transcript record, it will just show the name of the file that was shared.
Lastly, if you feel file transfer is not a feature you’d like your team to use or expose to your visitors, feel free to disable it by going to Websites on your Account page. Click Customize, then go to the Chat tab up top, then the Chatting sub-tab just below that. You will see the Enable File Transfer option towards the bottom.
To summarize, here are the sweet features you’ll receive with file transfer:
- Click and pick a file to transfer from your file manager on your computer or mobile device.
- Drag and drop a file into the chat to make it send.
- Copy and paste image files from anywhere.
- Send multiple files at the same time.
- Send as many files as you want.
- You can send images, PDF files, Microsoft application files, gifs, and others .
- All files you send can be downloaded by the visitor and vice-versa for anything the visitor sends you.
- All files sent can be deleted if needed by the sender.
- View all files sent later on at any time from your transcript records.
- Click on images or gifs to view them in their original size outside of the chat area.
Housekeeping items
We rolled out some fixes and other updates with this release as well.
- The end of chat happy/sad face ratings are now different colors to help prevent your visitors from giving you a sad face when you obviously earned a happy face from that chat. That was my excuse at least…
- The “Press Enter to send a message…” field is now customizable in your chat box customization menu. Go to the Chat tab, then the Chatting sub-tab to update it if desired.
- We fixed it where if your email form included the phone number field, it wouldn’t populate that data in the preview or the transcript record every time.
- If you were monitoring a chat and it ended, all visitor profile images disappear so it looks like the operator was losing their mind and just talking to themselves. We promise, we’re the only crazy ones here.
- We made the preview section of the customization menu in Safari not a complete dumpster fire. No need to thank us. Seriously don’t, it was awful.
- If you tried to email or export a transcript while it was pulled up in the dashboard, the menu to do so showed up behind the transcript. Not exactly helpful. It pops up in front now.
One last thing. You may have noticed that the link expansion feature we had rolled out before this update wasn’t the best initially. Nothing pains us more than rolling out a feature that everyone doesn’t find useful and love. For that, we are sorry! We learned a lot about it right away from your feedback and made the necessary improvements to make it much better and consumable. Images are shrunken down to not take up so much space and meta data is presented in a much more clear manner. You can still turn it off if you do not want it on. Go to your chat box customization menu, click Customize, then go to the Chat tab, then the Chatting sub-tab to find that option.

I find it very ver interesting and positive-*
Thank you so much, Walter!
This is a fantastic addition to chat! It is really helpful to be able to provide screenshots in the chat box!
Thanks so much for the update!!
Hi Angel! Thank you so much for the feedback and for being a Pure Chat user. We’re definitely excited about the feature and glad you are able to get some use out of it. 🙂